
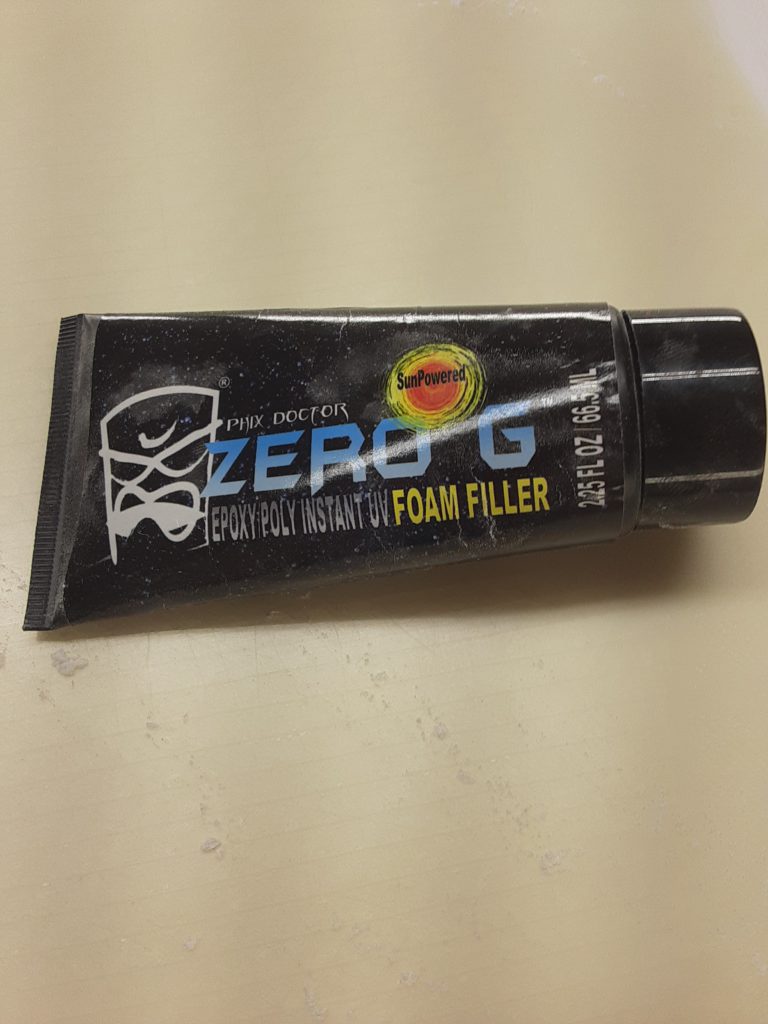
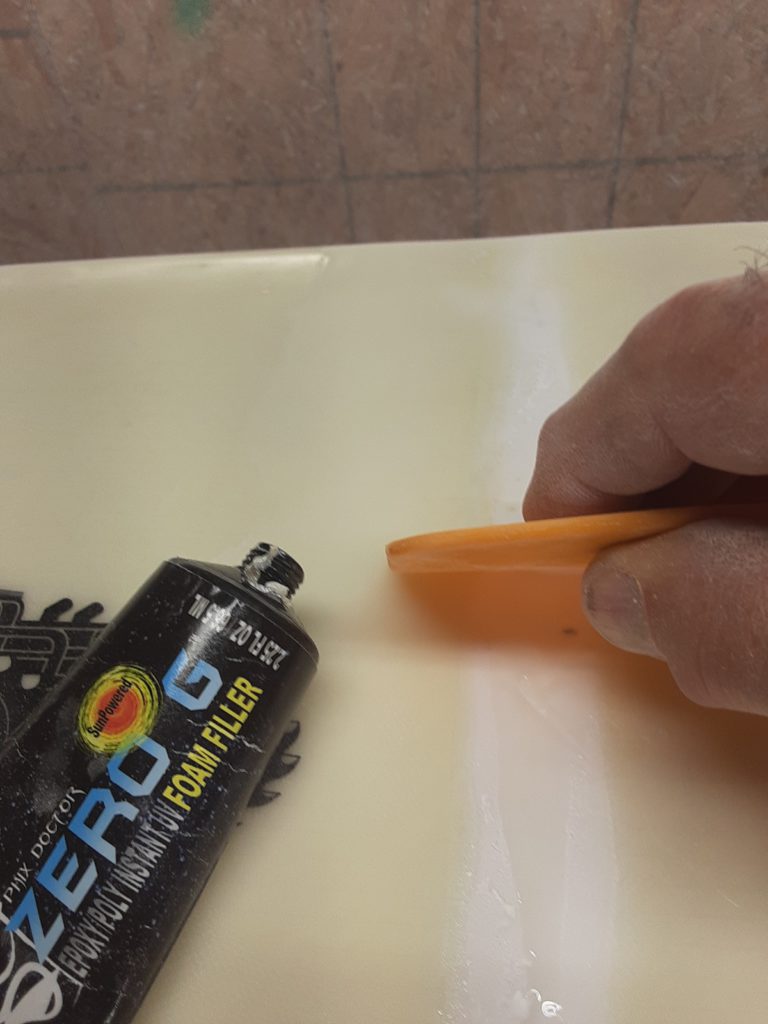
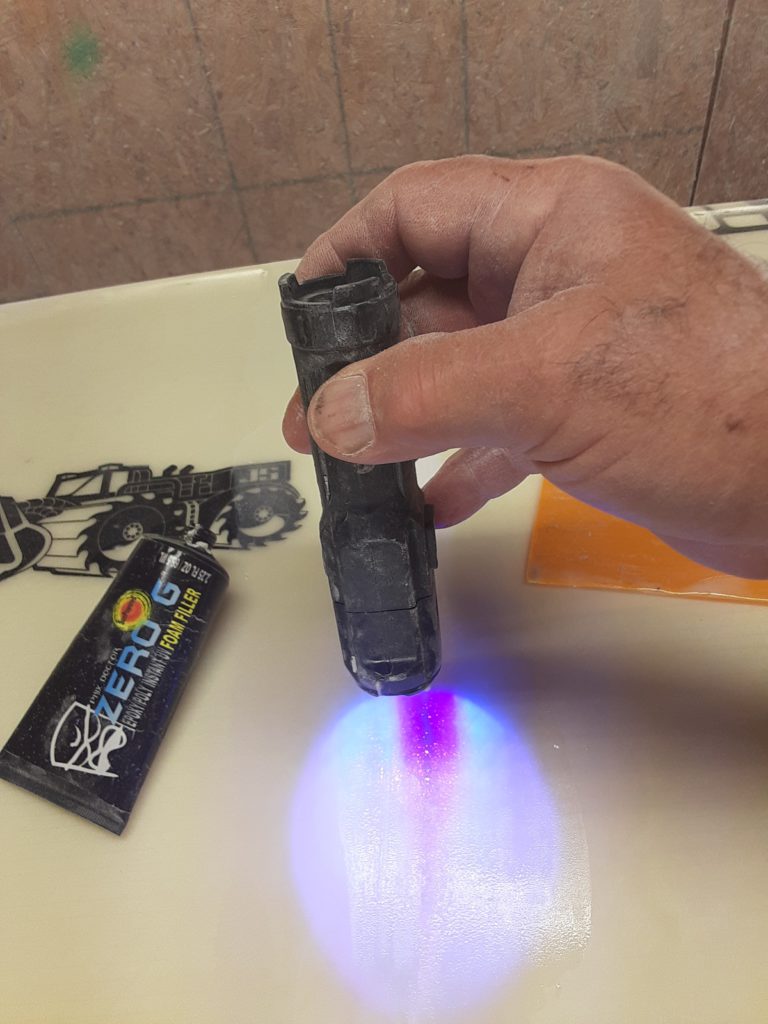
Today I got a buckled JS epoxy surfboard. Stringerless and light. After sanding and removing the loose glass, I took ZERO G and skimmed the foam and used my uv light to set quickly. This helps to seal the EPS blank that has a tendancy to blow air and screw your repair job.
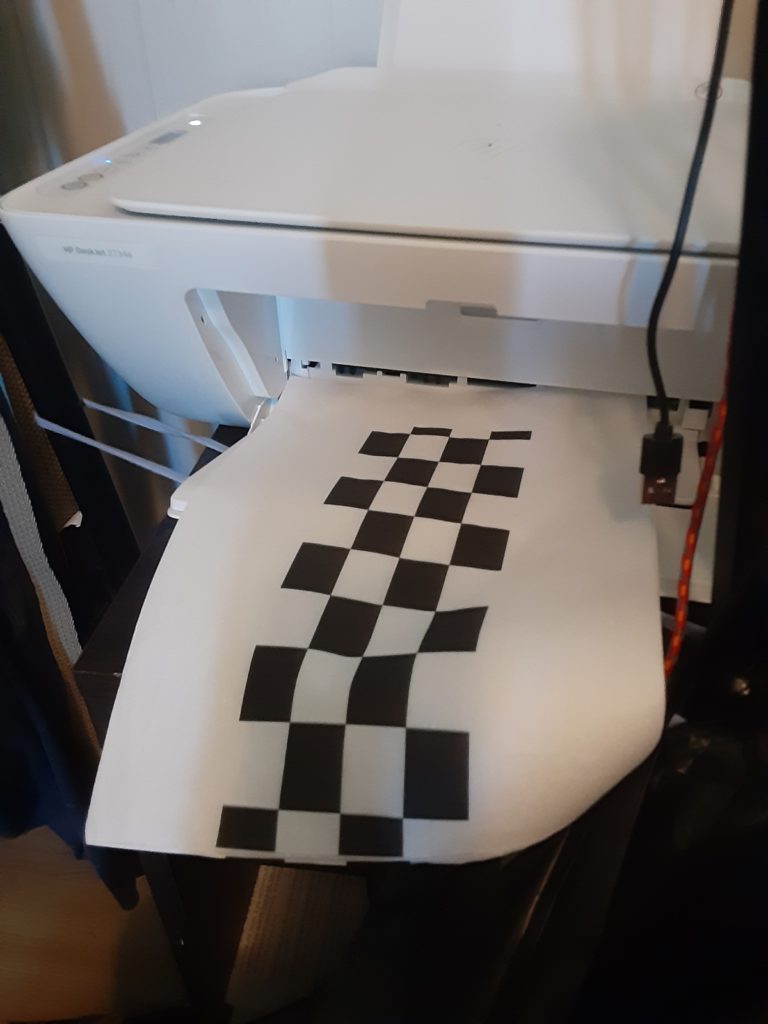
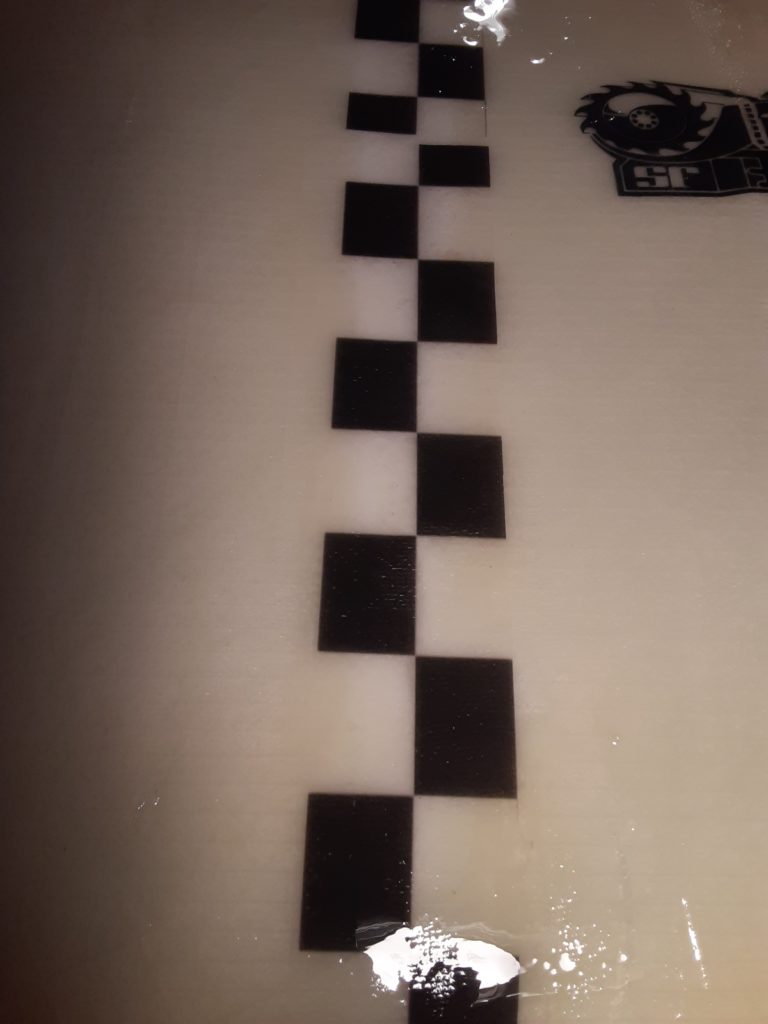
After Zero G I cut and laid the checkerboard lam I had just made on my cheap inkjet printer and laid my cloth over it with epoxy. About 5 hours later I added the filler coat and that is what you see. Later I will sand and spray.
Zero G works good but read the directions I use it to fill and seal small eps holes and then repair with my epoxy and cloth. If you are doing a small hole and need to sand Zero G you must cuure with a clear sheet over it.